Technique Tuesday: Seaming Tailored Shoulders
On Technique Tuesdays, I’ll be tackling technique questions in knitting (mostly about sweaters), questions about how to execute a particular thing rather than “how to think about executing a thing” (that’s for Thursdays). This past Thursday, we talked about why tailored shoulders are a great way to shape set-in-sleeve sweaters; today, we’ll talk about how you seam them.
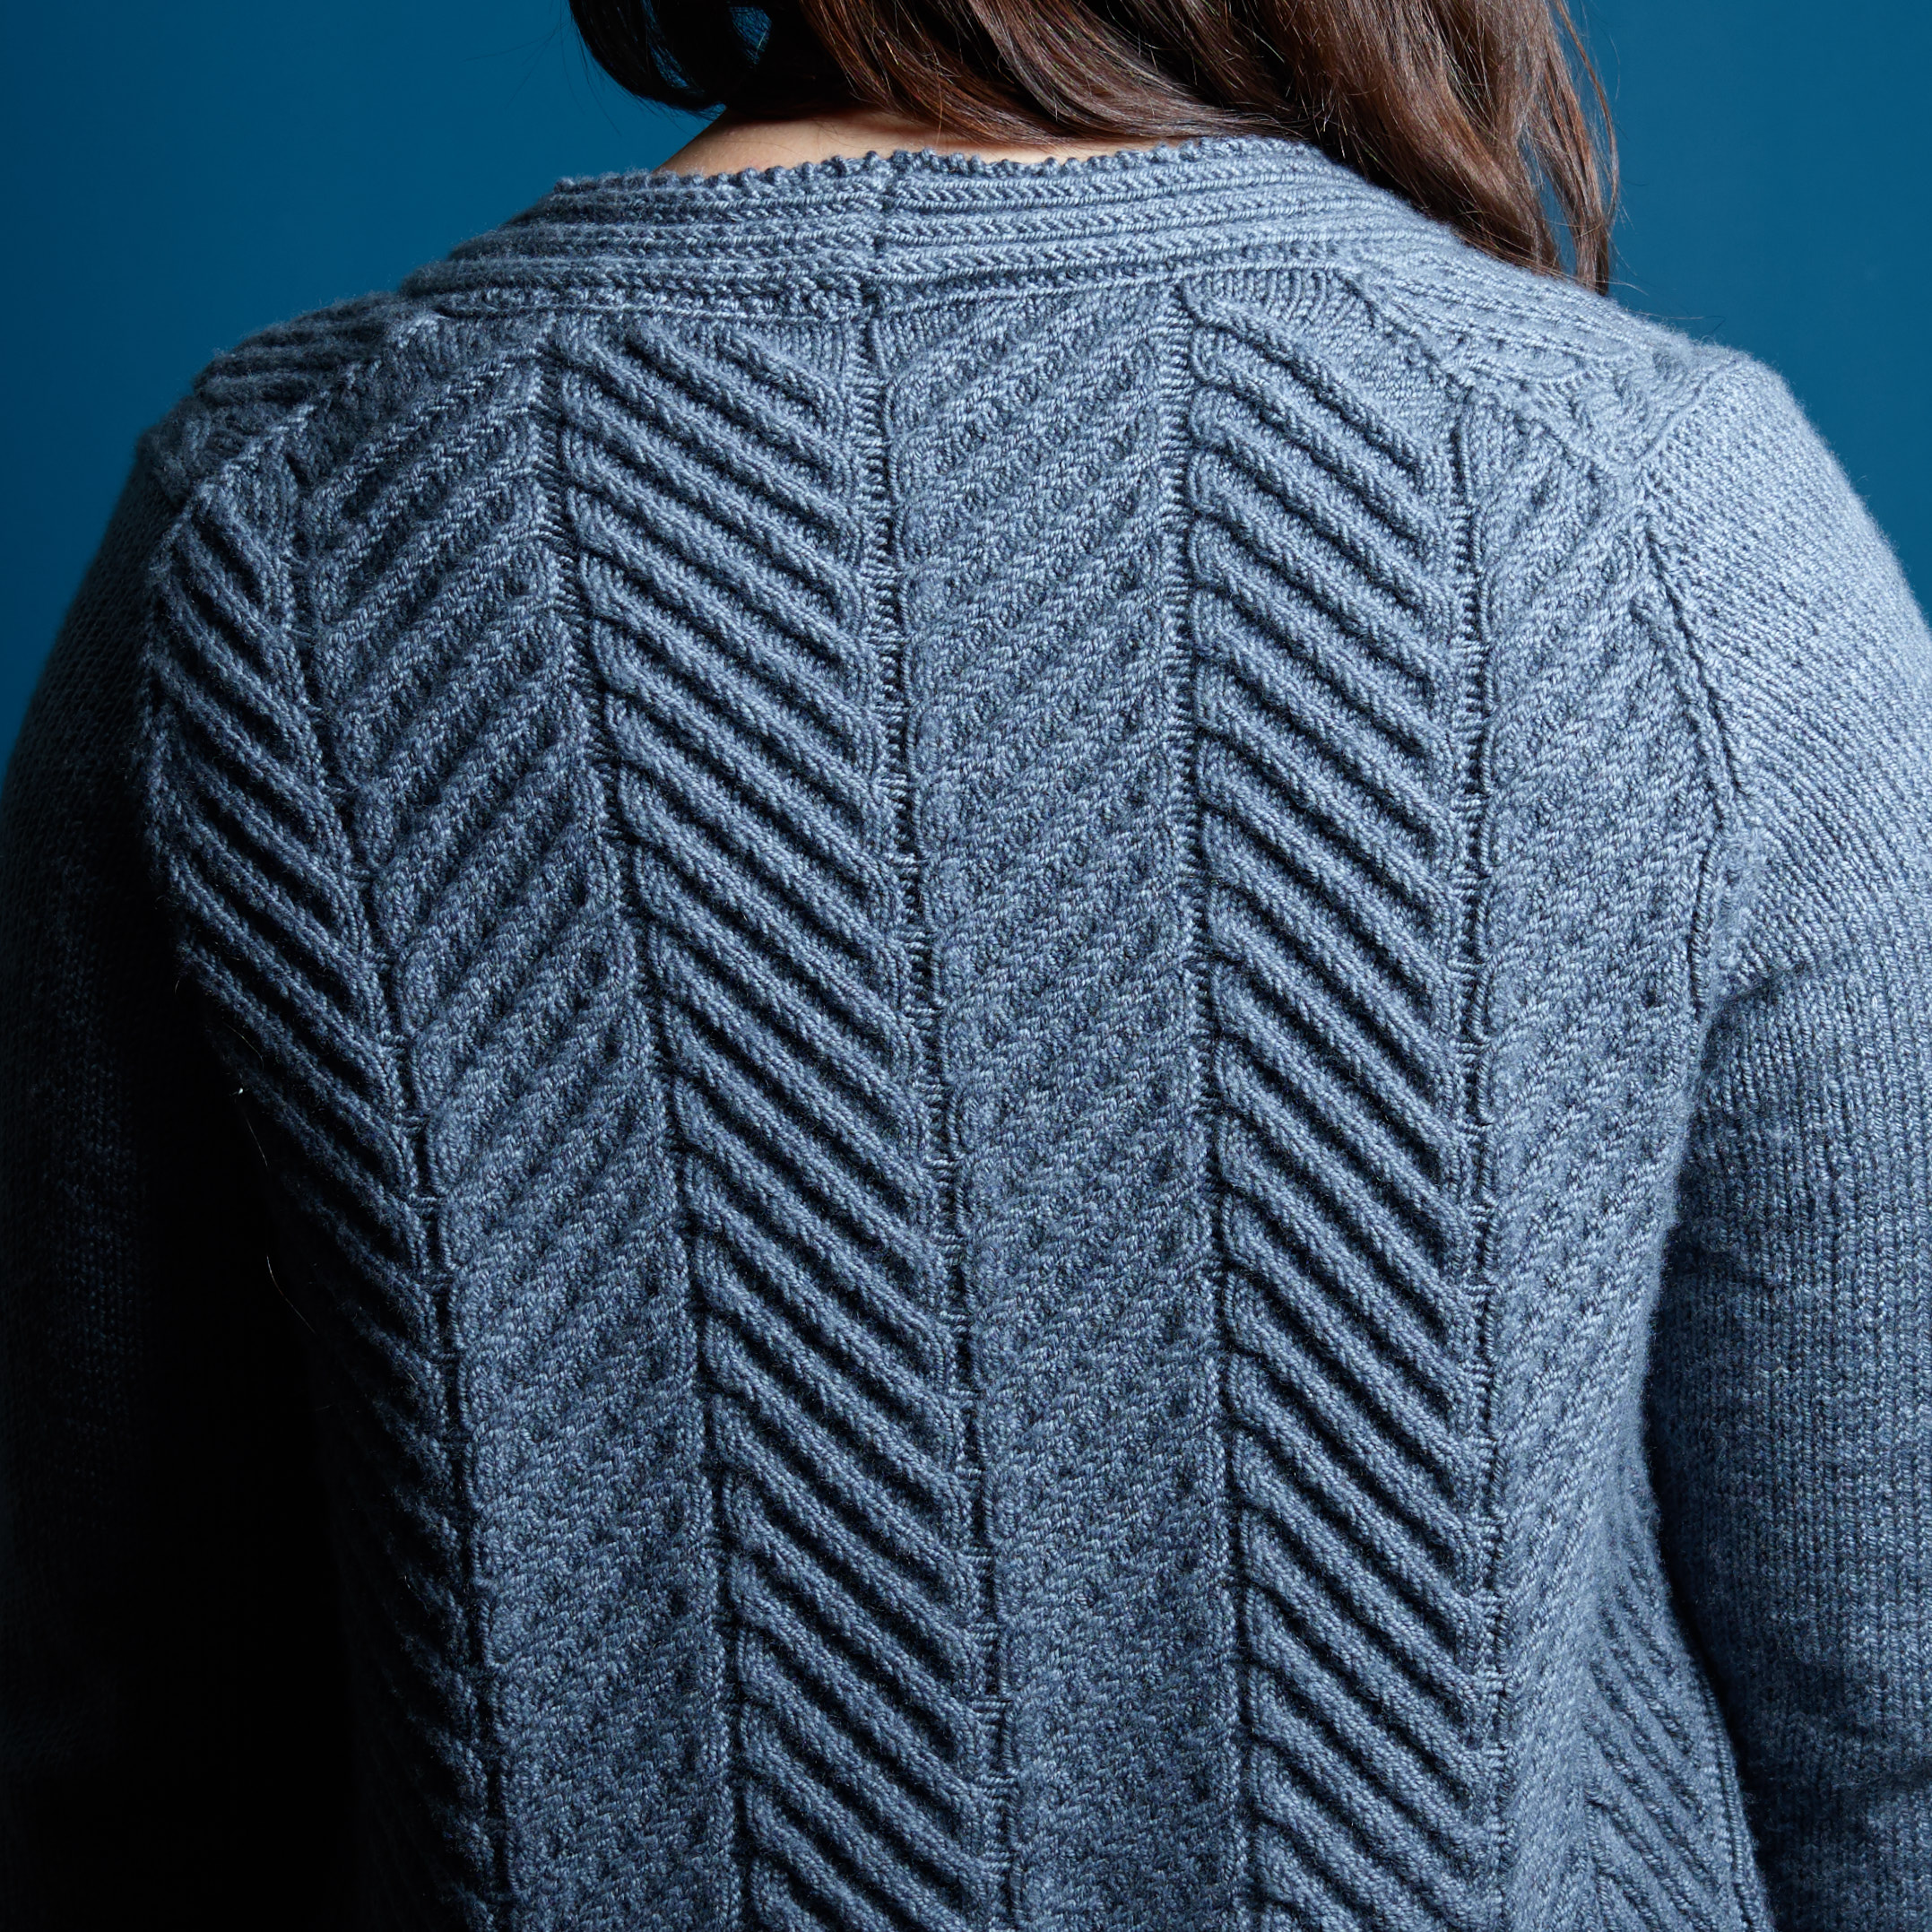
Howell Mountain’s tailored shoulders anchor the sweater on my upper back, nicely framing my shoulders, and neatly resolving the cables.
Without a doubt, the most frequent pattern support question I get on my set-in-sleeve sweaters is “how do I attach the fronts to the back?” Over time, I’ve added some more (hopefully clearer!) language in the pattern text to explain how to seam these kinds of sweaters, but here, I’ll spell out how to seam the fronts and back of your tailored-shouldered sweater, and how to set in your sleeve.
But first, a quick math review (sorry!):
On Thursday, I talked about the relationship between the sleeve cap width (the final width at the top of your sleeve cap), the front armhole depth, the cap height, and the rear armhole depth on a tailored shouldered sweater, and we’ll review that in a little more detail here. (The first important thing to note is that I said “front armhole depth” and “rear armhole depth” as separate things, because in this kind of sweater, they’re different.) In any set-in-sleeve sweater, sleeve cap height and armhole depth are related, essentially as follows:
Armhole Depth = Sleeve Cap Height + 1/2 Sleeve Cap Width
and, by extension:
Total Armhole Depth (Front Armhole Depth + Rear Armhole Depth) = 2 * Sleeve Cap Height + Sleeve Cap Width
This makes sense—if you lay out a ready-to-wear sweater with set-in-sleeves, you’ll see that the top of the sleeve cap basically folds in half, and that the total distance from bottom of armhole to shoulder shaping (if any) is the cap height plus half the cap width. (Note here also that armhole depth is measured BEFORE any shoulder shaping takes place, so on our tailored shoulder sweater, armhole depth stops when your double-decreases start).
But, in a sweater with tailored shoulders, the rear armhole depth is equal to the sleeve cap height. So, our front armhole needs to be deeper than the back. How much deeper? A little arithmetic will show us. Remember:
Rear Armhole Depth = Sleeve Cap Height
so, using our equation from above:
Front Armhole Depth + Rear Armhole Depth = Rear Armhole Depth + Sleeve Cap Height + Sleeve Cap Width
We've got rear armhole depth on both sides, so we can drop those, and we’re left with:
Front Armhole Depth = Sleeve Cap Height + Sleeve Cap Width (in rows)
Okay, big traumatic math lesson over. So, why do we care about the math? Because it shows us why, if we’ve done our homework in the knitting (and mine in the drafting), our sleeve caps will seam perfectly every time, because the armholes will be precisely large enough to allow the sleeve to set in.
So, armed with this knowledge, how the *#&! do I seam my sweater together?
First of all, KEEP TRACK OF YOUR KNITTING! Make a note of how many rows you worked in your sleeve cap. Make sure you work to exactly this number of rows before you start your double decreases on the back (or vice versa, if you work in the other order). I recommend blocking your sleeves, measuring the cap width (ignoring your selvedge stitches), and making sure that, as you knit your front armholes, AT YOUR BLOCKED ROW GAUGE, you work the number of rows in your sleeve cap plus enough rows to cover the final width of your sleeve cap.
Okay, knitting done? Pieces blocked? Here we go:

This frame diagram shows you how all the pieces fit together.
First, seam the angled portions of the upper back to the bound-off edges of your front(s). Note that typically, the top of the front is typically shorter than the angled portion of the upper back. Don’t panic! The top of the front is designed to be gently stretched and eased along the edge, which helps to shape the shoulder and the neck. I usually pin beginning at the outer edge (where the sleeve will set in), which helps make everything line up.
Once you’re done, your shoulders should look like this:

So, now, we open up that armhole and arrange our sweater pieces so that they look like the wire diagram above. (Note that you can, in concept, seam the underarm and side seams before you do this, as you often would in garment sewing, but I think it’s much easier to set in your sleeve flat.)

Next, using removable stitch markers, we’re going to pin some key anchor points in the sleeve cap, so we’re not flying blind. Specifically, we’re going to pin the corner of the sleeve cap even with the seam between shoulder and upper back, and the inside and outside edges of the corresponding underarm bind offs on the sleeve and the body of the sweater.

Next, work your way around the sleeve cap in mattress stitch. You can start in any number of places, depending on where you have readily-accessible yarn tails, but my favorite places to start are at either underarm bindoff or at the anchor point at the shoulder seam. Before I start seaming, I like to pin the edges together every inch or so, so I can be sure things line up reasonably well and I don’t need to do any easing or stretching to make everything fit. Starting from one of my key anchor points means that I am sure I’ll get that anchor point lined up in the right spot, and that my sleeve will set in gracefully.
The whole process takes in the environs of 30 minutes to an hour per sleeve, and the best piece of advice I can give you is to let it take that time. Grab yourself a cup of coffee or a glass of wine or whatever you need, arm yourself with stitch markers and soothing music or your favorite podcast, and go. And don’t be afraid to rip back if you need to—the great news about mattress stitch is that it always comes out if you need it to. It’s a key part of the final look of your sweater, so it’s worth taking the time to get it right, but I promise it’s a relatively straightforward process once you actually get going.